

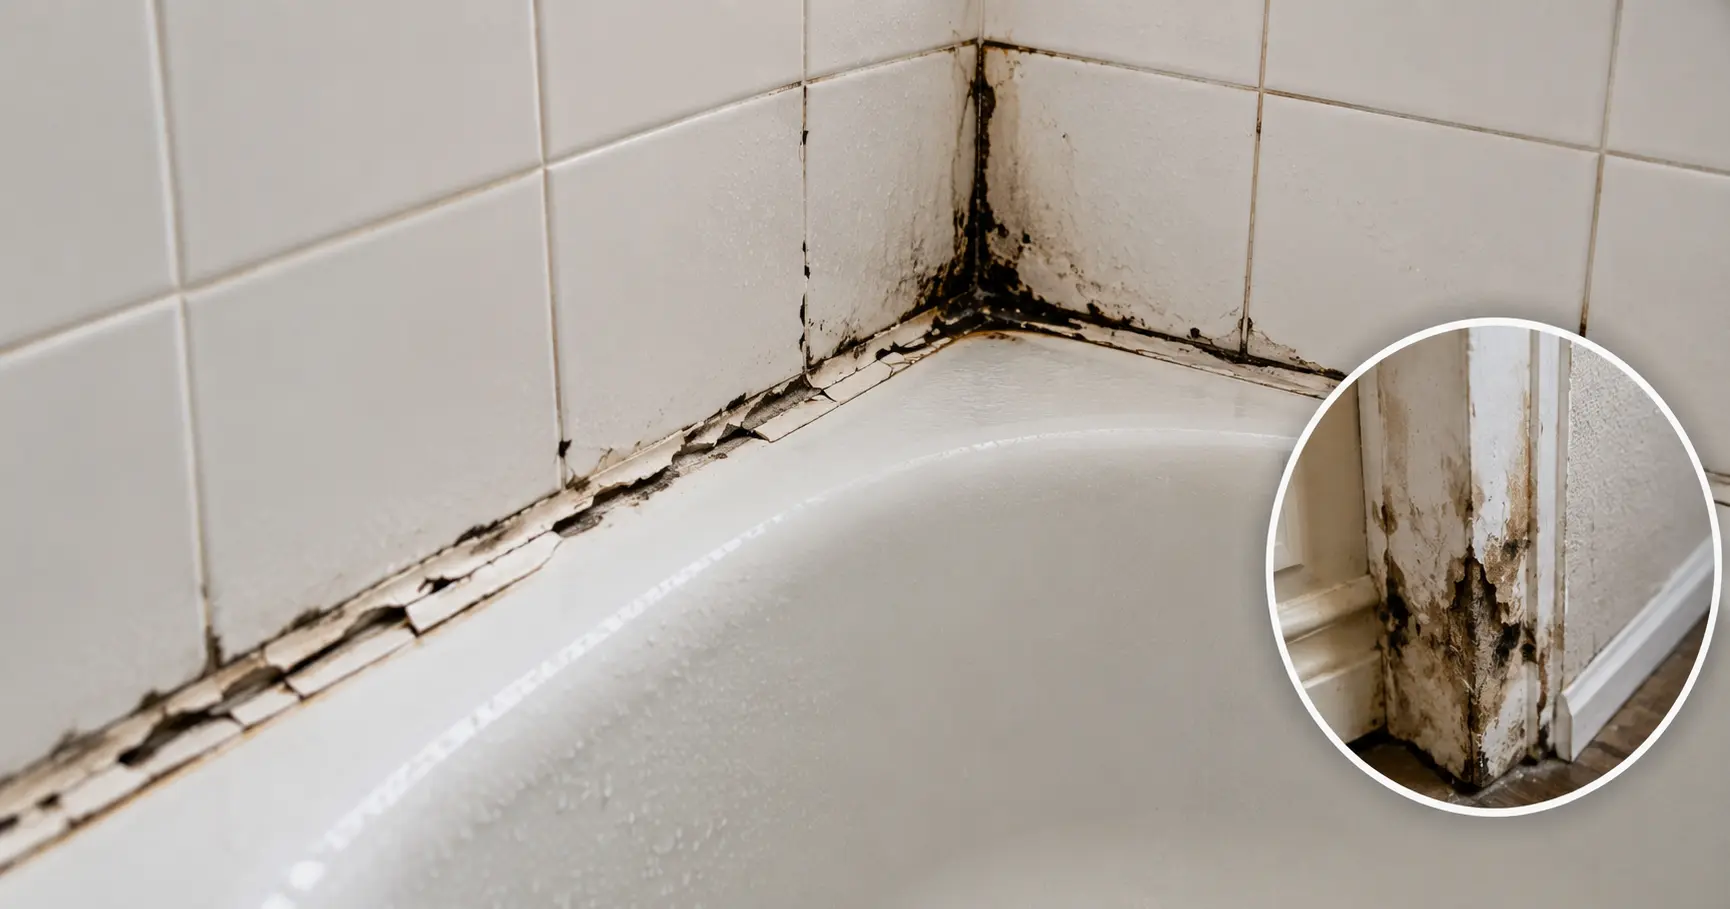
Cracked exterior caulk may look like a minor cosmetic flaw, but an open joint can give rain and damp air a path behind siding, trim, windows, or doors. Replacing failed sealant early is usually easier than dealing with softened wood, peeling paint, staining, or recurring gaps later.
The goal isn’t to cover the crack. It’s to remove failed material, prepare the joint correctly, and create a flexible seal that can handle normal building movement.
Why Exterior Caulk Starts Cracking
Outdoor sealant deals with sunlight, temperature swings, moisture, and movement between different building materials. A joint between wood trim and masonry, for example, may expand and contract differently throughout the year.
Age also matters. Once caulk becomes hard, brittle, separated, or badly discolored, adding another layer over it rarely restores the joint properly. Homeowners comparing maintenance approaches through broader home-maintenance reading should still judge each joint by its actual condition rather than appearance alone.
Check More Than the Visible Crack
Run your eyes along the entire seam. Look for lifting edges, tiny openings at the corners, soft trim, peeling coatings, or caulk that moves away when lightly pressed.
Pay special attention around window and door trim, utility penetrations, exterior joints, and places that receive wind-driven rain.
Remove Failed Material Before Resealing
New caulk bonds best to a clean, stable surface. Cut and pull away loose material rather than filling directly over cracked sealant.
A scraper or suitable removal tool can help clear the joint, but avoid digging into soft wood or damaging nearby siding. Practical DIY references may provide general project ideas, yet the safest tool choice depends on the specific exterior material you’re working around.
Let damp surfaces dry before applying new sealant. Trapped moisture can interfere with adhesion and may hide deterioration that needs repair first.
| Joint Condition | Better Response | Reason |
|---|---|---|
| Small clean opening | Remove and recaulk | Restores the seal |
| Loose old caulk | Strip failed material | Improves adhesion |
| Soft or damaged wood | Repair first | Caulk won’t fix decay |
| Wet joint | Allow drying | Avoid trapping moisture |
Choose Caulk for the Actual Exterior Joint
Exterior applications need a sealant rated for outdoor exposure and compatible with the surfaces being joined. Some products are paintable, while others are designed around masonry, siding, windows, or specific construction materials.
Don’t select a tube only because it says “all purpose.” Reading labels and checking manufacturer compatibility is more useful than choosing by price alone. Broader household improvement guides can help with planning, but the product instructions should control application conditions and cure requirements.
Cut the nozzle opening to match the joint rather than creating an oversized bead. A controlled bead is easier to tool and less likely to become a thick, messy ridge.
Apply the New Seal With Control
Move the caulk gun steadily while keeping the nozzle close to the gap. The bead should contact both sides of the joint instead of sitting loosely on the surface.
Tool the bead according to product directions while the material is workable. The finished joint should bridge the opening without becoming excessively thick.
Watch the weather as well. Rain, low temperatures, extreme heat, or high surface moisture can affect installation depending on the sealant.
Common Caulking Mistakes That Cause Another Failure
The biggest mistake is treating caulk like filler for every exterior defect. Sealant isn’t a repair for rotten trim, large structural movement, damaged flashing, or an active water-entry problem.
Another common error is sealing openings that were intentionally designed for drainage or ventilation. Weep holes and similar drainage paths shouldn’t automatically be closed simply because they resemble gaps.
Applying new material over dusty, wet, or loose old caulk also shortens the useful life of the repair. Surface preparation often matters more than making the bead look perfect.
Frequently Asked Questions
Can I put new exterior caulk over old caulk?
Small areas may sometimes accept additional material, but badly cracked, loose, dirty, or separated caulk should generally be removed first so the replacement can bond to a stable surface.
How can I tell if exterior caulk has failed?
Look for cracks, separated edges, hardened material, missing sections, repeated paint splitting, or gaps where the caulk no longer contacts both surfaces.
Should every exterior gap around a house be caulked?
No. Some gaps serve drainage or ventilation purposes, while larger openings may indicate construction or repair issues that caulk alone cannot solve.
Seal Small Openings Before They Become Bigger Repairs
Inspect exterior joints regularly, especially around windows, doors, trim, and penetrations. When caulk has clearly failed, remove unstable material, identify any underlying damage, and apply a compatible exterior sealant under suitable conditions.











Leave a Reply